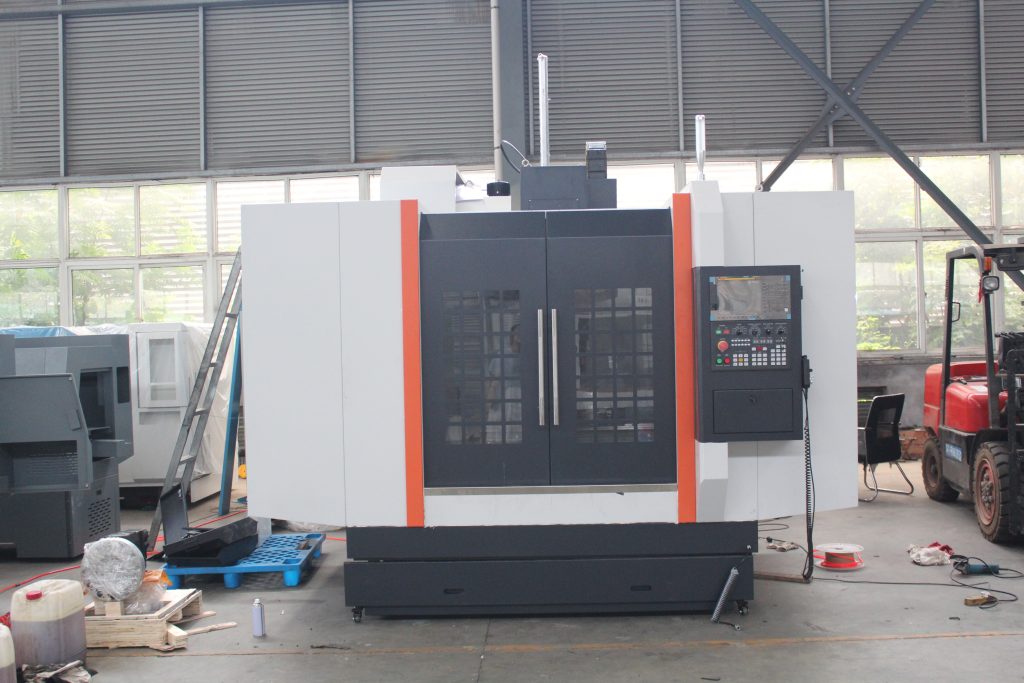
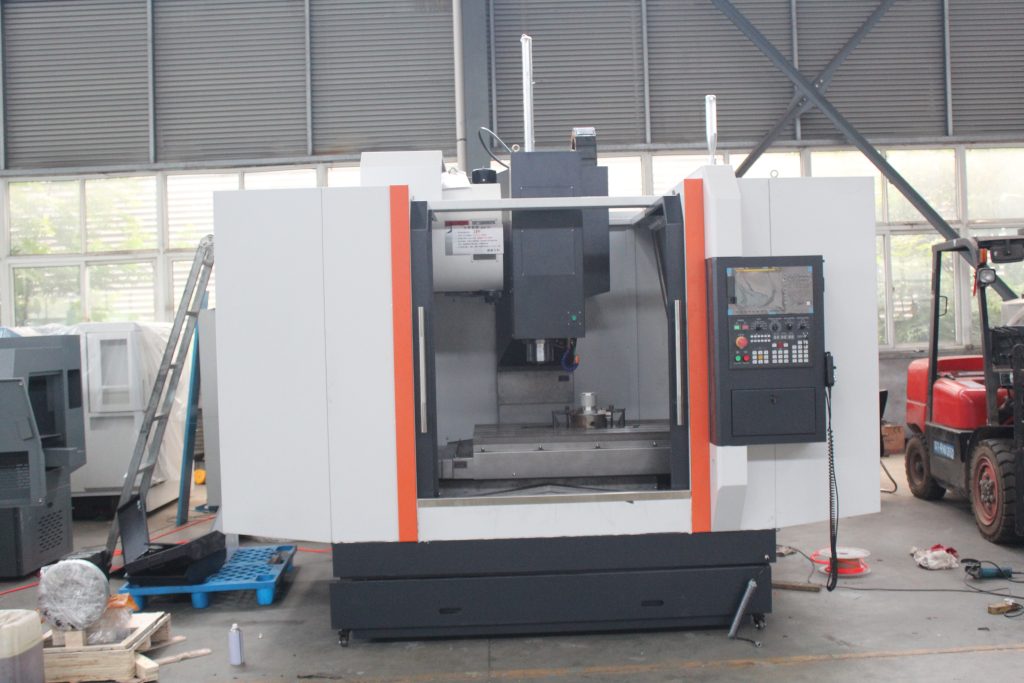
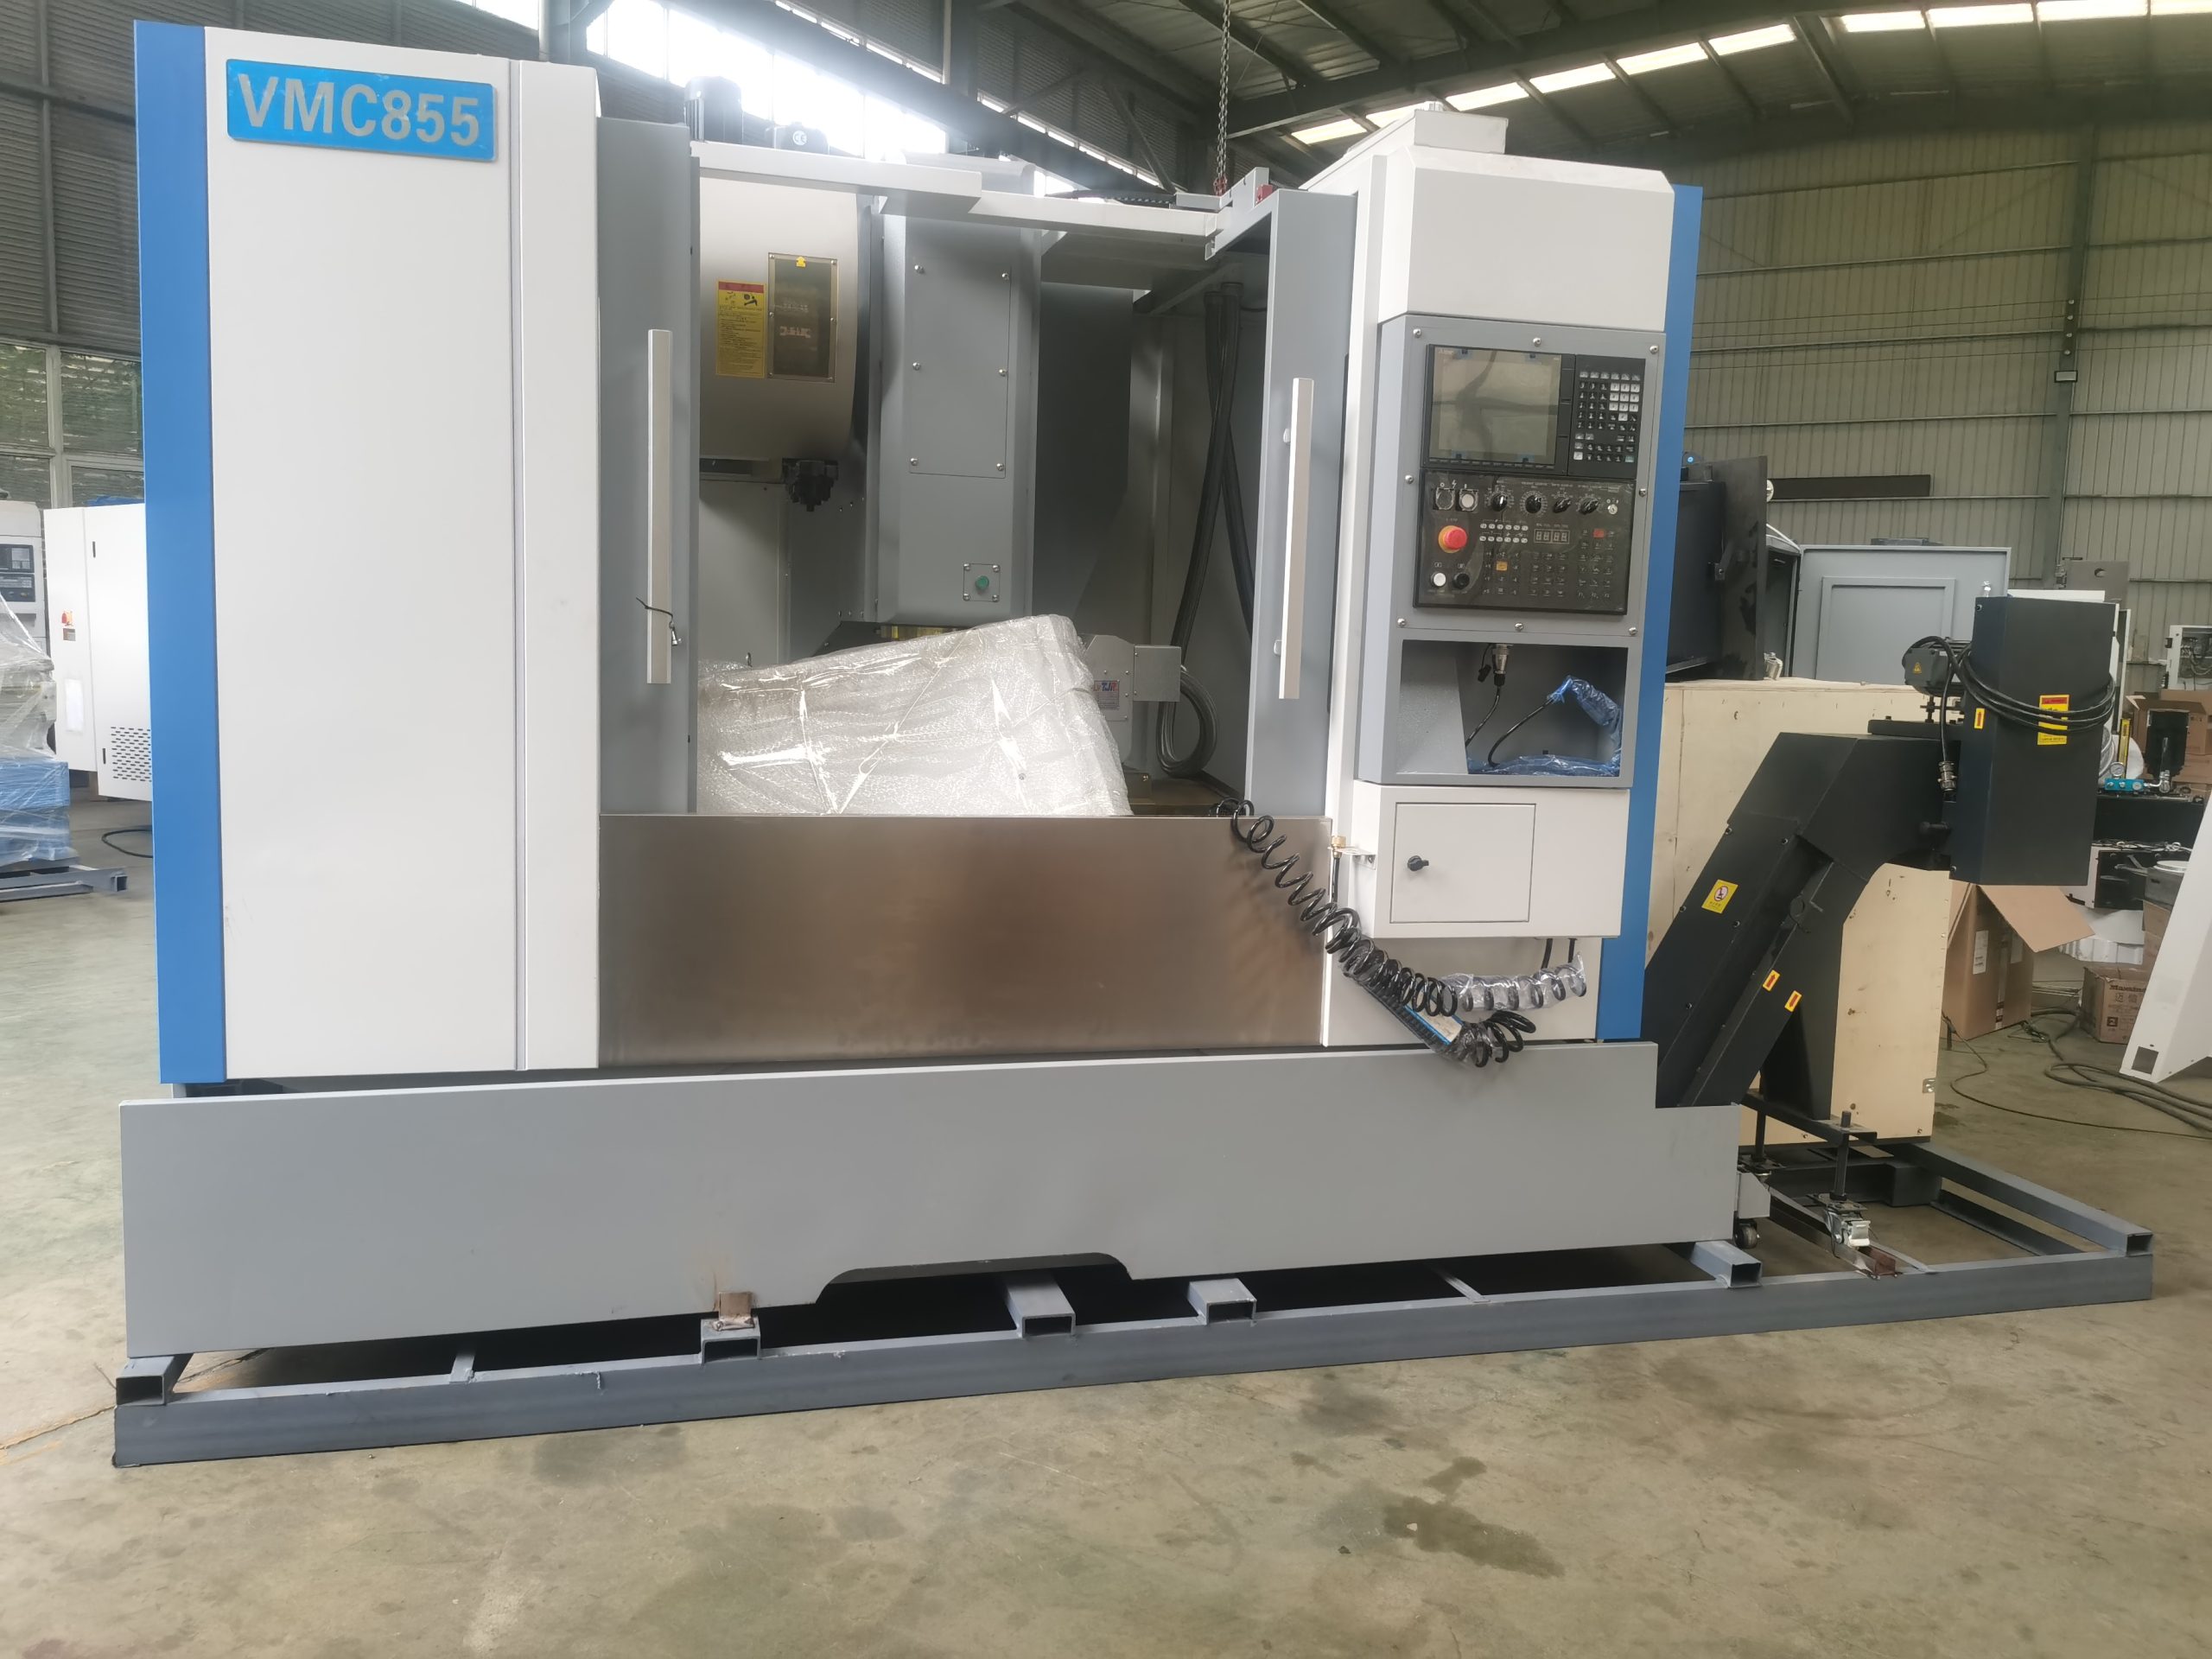
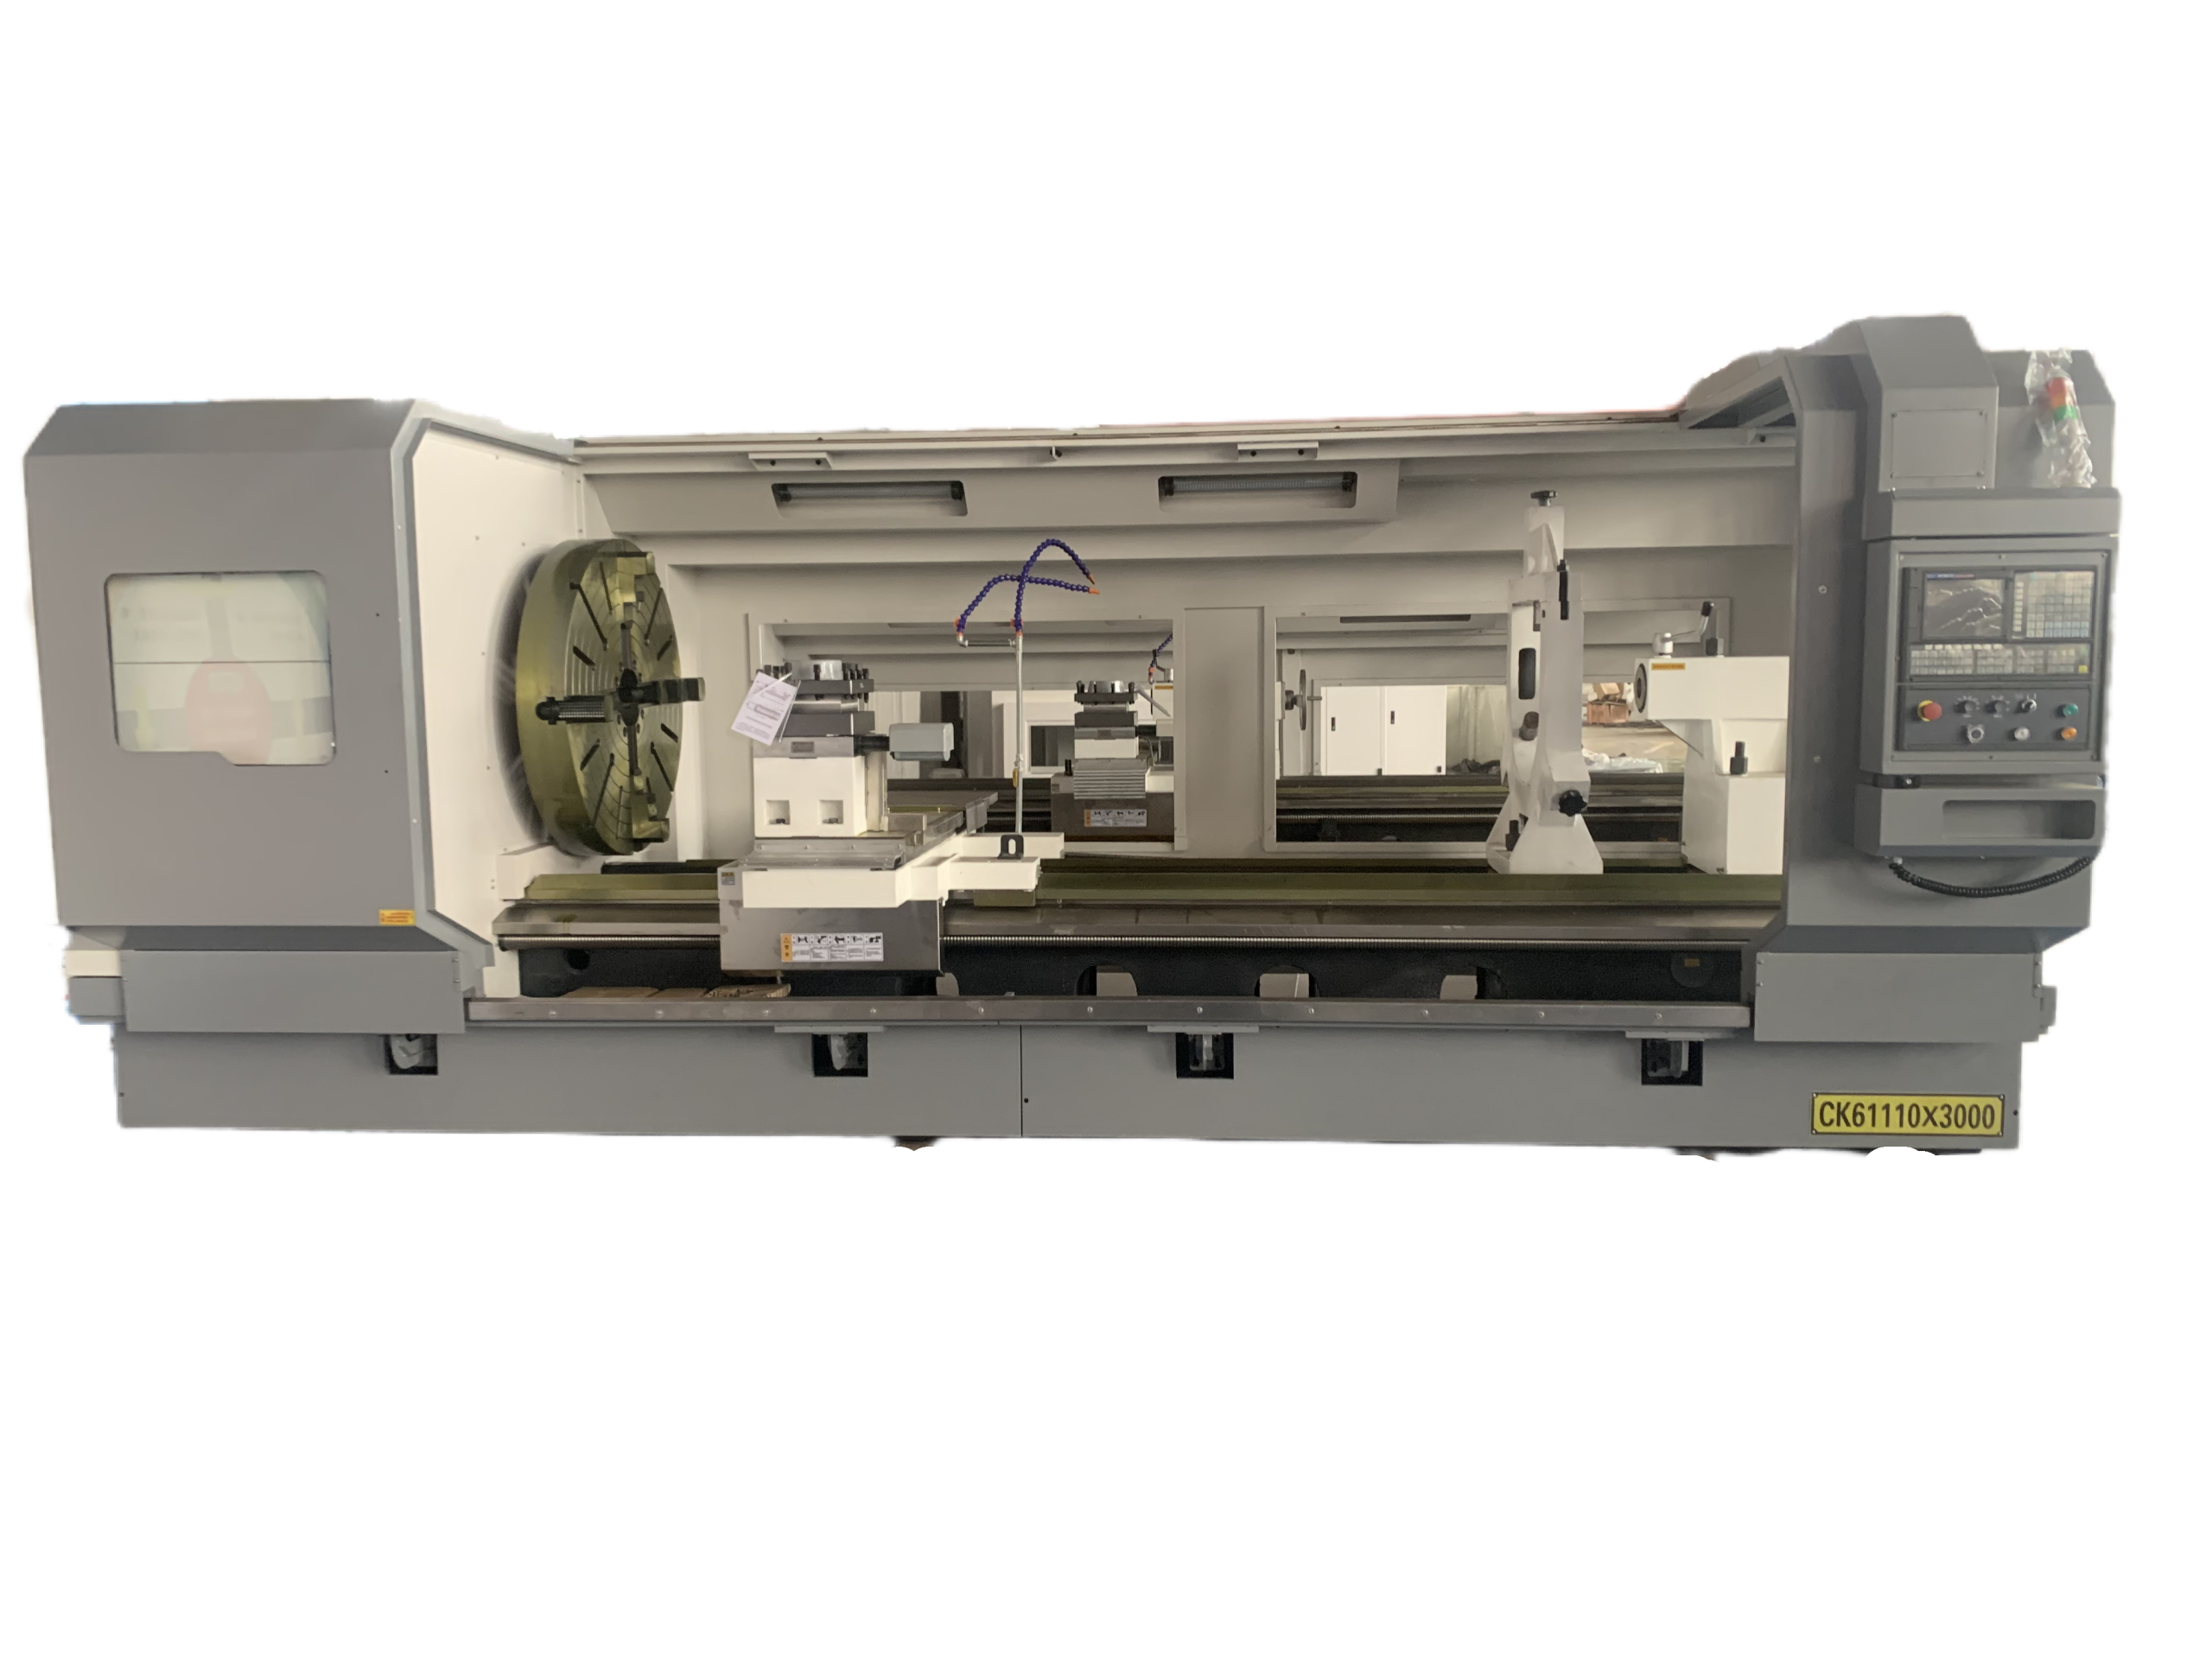
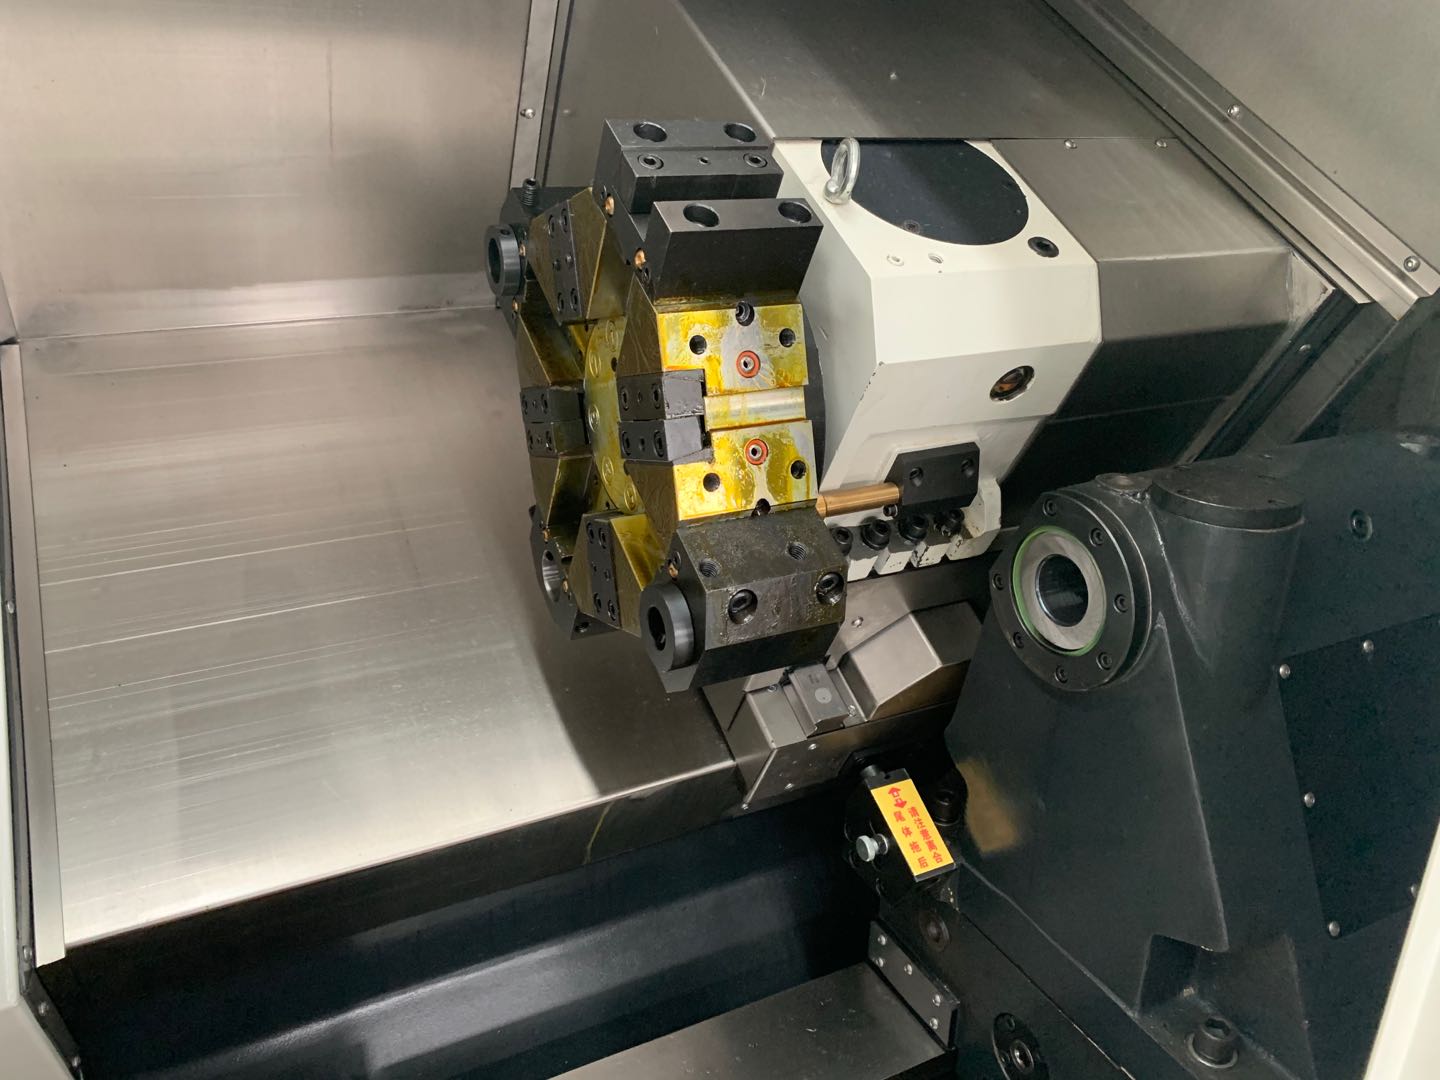
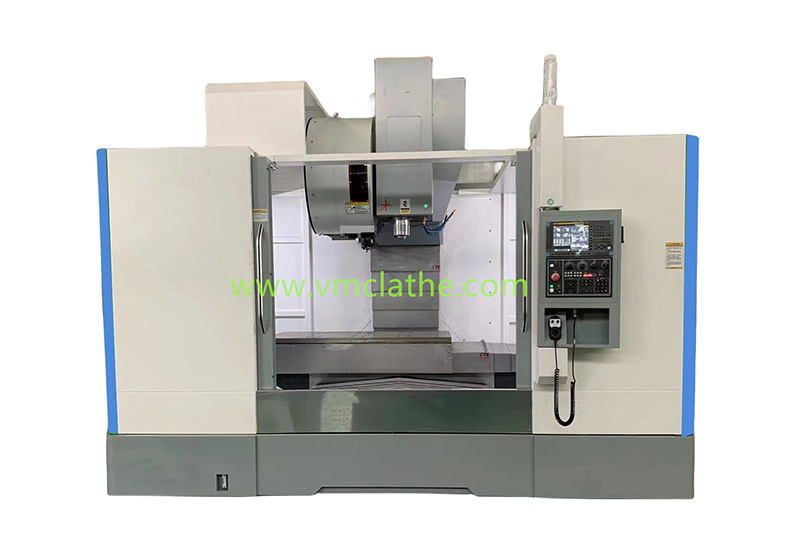
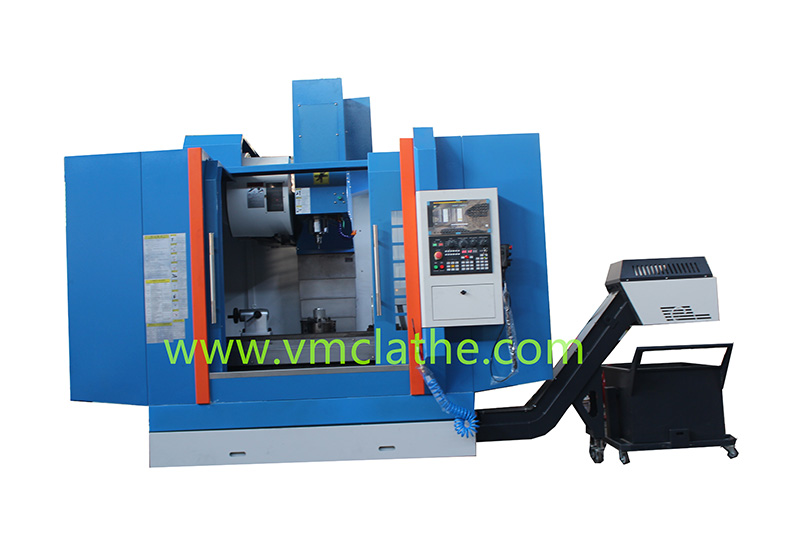
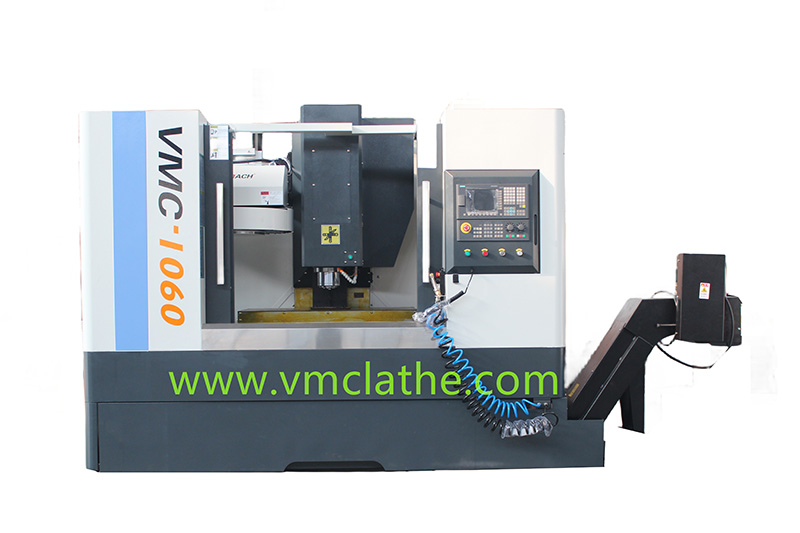
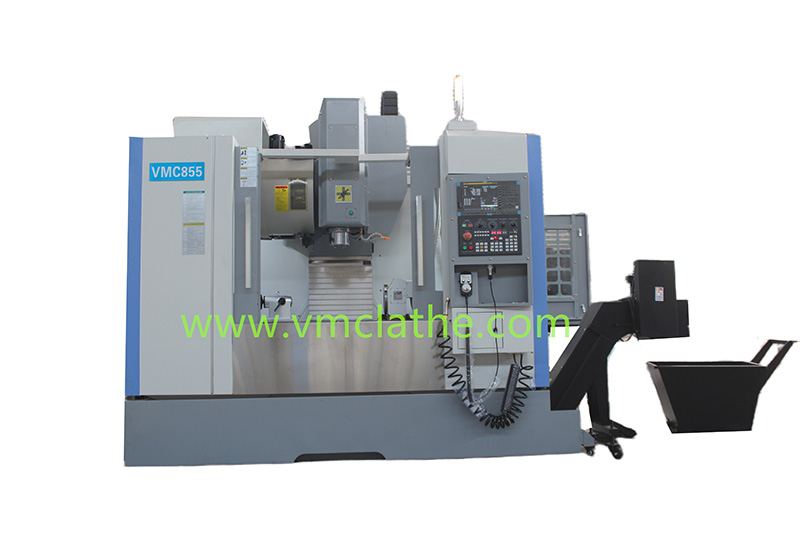
The operation steps of CNC milling machine processing center usually include startup preparation, workpiece clamping, program input and verification, tool setting operation, processing process monitoring, post-processing and shutdown. The following is a detailed description of these steps:
1. Startup preparation
A. Machine tool inspection: Check whether the lubricating oil pump at the rear of the machine tool has sufficient oil, whether the air compressor is turned on, whether the cutting fluid is sufficient, and whether the various parts of the machine tool are intact and without abnormalities.
B. Startup sequence: Turn on the machine tool power first, then start the system. For machine tools with incremental control systems, it is necessary to perform a reference point return operation to establish the moving reference of each coordinate of the machine tool.
2. Workpiece clamping
A. Clean the workpiece: Before clamping the workpiece, clean the surface of the workpiece to remove oil, iron filings and dust, and use a file or oilstone to remove burrs on the surface of the workpiece.
B. Select the fixture: Select a suitable fixture according to the shape of the workpiece and the processing requirements to ensure that the workpiece is stable and easy to process. The equal height iron of the fixture should be ground by a grinder to make it smooth and flat.
C. Workpiece positioning: Place the workpiece on the machine tool workbench, and follow the clamping and placement method in the programming work instruction to avoid the processing area and the position of the tool head that may hit the fixture. Use a ruler to check whether the length, width and height of the workpiece are qualified.
D. Clamp the workpiece: Use nuts and shims to clamp the workpiece to ensure that the clamping is firm and the error is within the allowable range. Shims are generally placed at the four corners of the workpiece. For workpieces with too large a span, shims of equal height need to be placed in the middle.
3. Program input and verification
A. Program input: Select the appropriate input method according to the storage medium (such as paper tape, magnetic tape, disk or USB flash drive, etc.), and input the processing program into the machine tool control system. For short programs, you can also directly enter through the keyboard on the CNC control panel.
B. Program editing: If the input program needs to be modified, you can use the editing function to add, delete or change operations.
C. Program verification: Run the program in the locked state of the machine tool, check the program, and ensure that it is correct before actual processing.
4. Tool setting operation
Choose the tool setting tool: Choose the correct tool setting tool according to the processing requirements, such as edge finder or trial cutting method.
A. Tool setting in X and Y directions:
a) Mount the workpiece on the machine table through the fixture, leaving a measurement position for the edge finder.
b) Move the table and spindle to allow the edge finder probe to approach one side of the workpiece.
c) Use fine-tuning operation to allow the probe to slowly touch the side of the workpiece until the edge finder lights up or sends a signal.
d) Record the X (or Y) coordinate value in the machine coordinate system at this time.
e) Repeat the above steps to measure the other side of the workpiece, and calculate the X (or Y) coordinate value of the origin of the workpiece coordinate system in the machine coordinate system.
B. Tool setting in Z direction:
a) Remove the edge finder and install the tool used for processing.
b) Place the Z-axis setter (or tool setting block with fixed height) on the upper plane of the workpiece.
c) Move the spindle to allow the tool end face to approach the upper surface of the Z-axis setter.
d) Use fine-tuning operation to allow the tool end face to slowly contact the upper surface of the Z-axis setter until its pointer indicates zero.
e) Note the Z coordinate value in the machine coordinate system at this time, and calculate the Z coordinate value of the origin of the workpiece coordinate system in the machine coordinate system.
C. Input tool setting parameters: Input the measured X, Y, and Z values into the storage address of the machine workpiece coordinate system
5. Process monitoring
A. Start processing: After confirming that the program is correct and the workpiece is firmly clamped, start coordinate feeding for continuous processing. The feed speed during processing can be adjusted by the feed rate switch.
B. Real-time monitoring: Use the display screen to monitor the processing situation, including the worktable position, program, and machine status. If there is an abnormality or the processing needs to be suspended, press the feed hold button to pause the feed movement, observe the processing situation or perform manual measurement. Press the cycle start button again to resume processing.
6. Post-processing and shutdown
A. Program saving and output: After the processing is completed, if the program needs to be saved, it can be left in the CNC memory. If the program is long or needs to be stored for a long time, it can be exported to an external device (such as a puncher) for storage.
B. Machine cleaning and maintenance: Clean all parts of the machine tool and remove cutting chips and oil stains. Check whether all parts of the machine tool are intact and without abnormalities, and perform necessary lubrication and maintenance work.
C. Shutdown sequence: Turn off the machine power first, then turn off the system power. Make sure the machine tool is in a safe state and disconnect all power connections.
In summary, the operation steps of the CNC milling machine processing center involve multiple links and details. In actual operation, the operating procedures should be strictly followed and safety matters should be paid attention to to ensure processing quality and personnel safety.

